
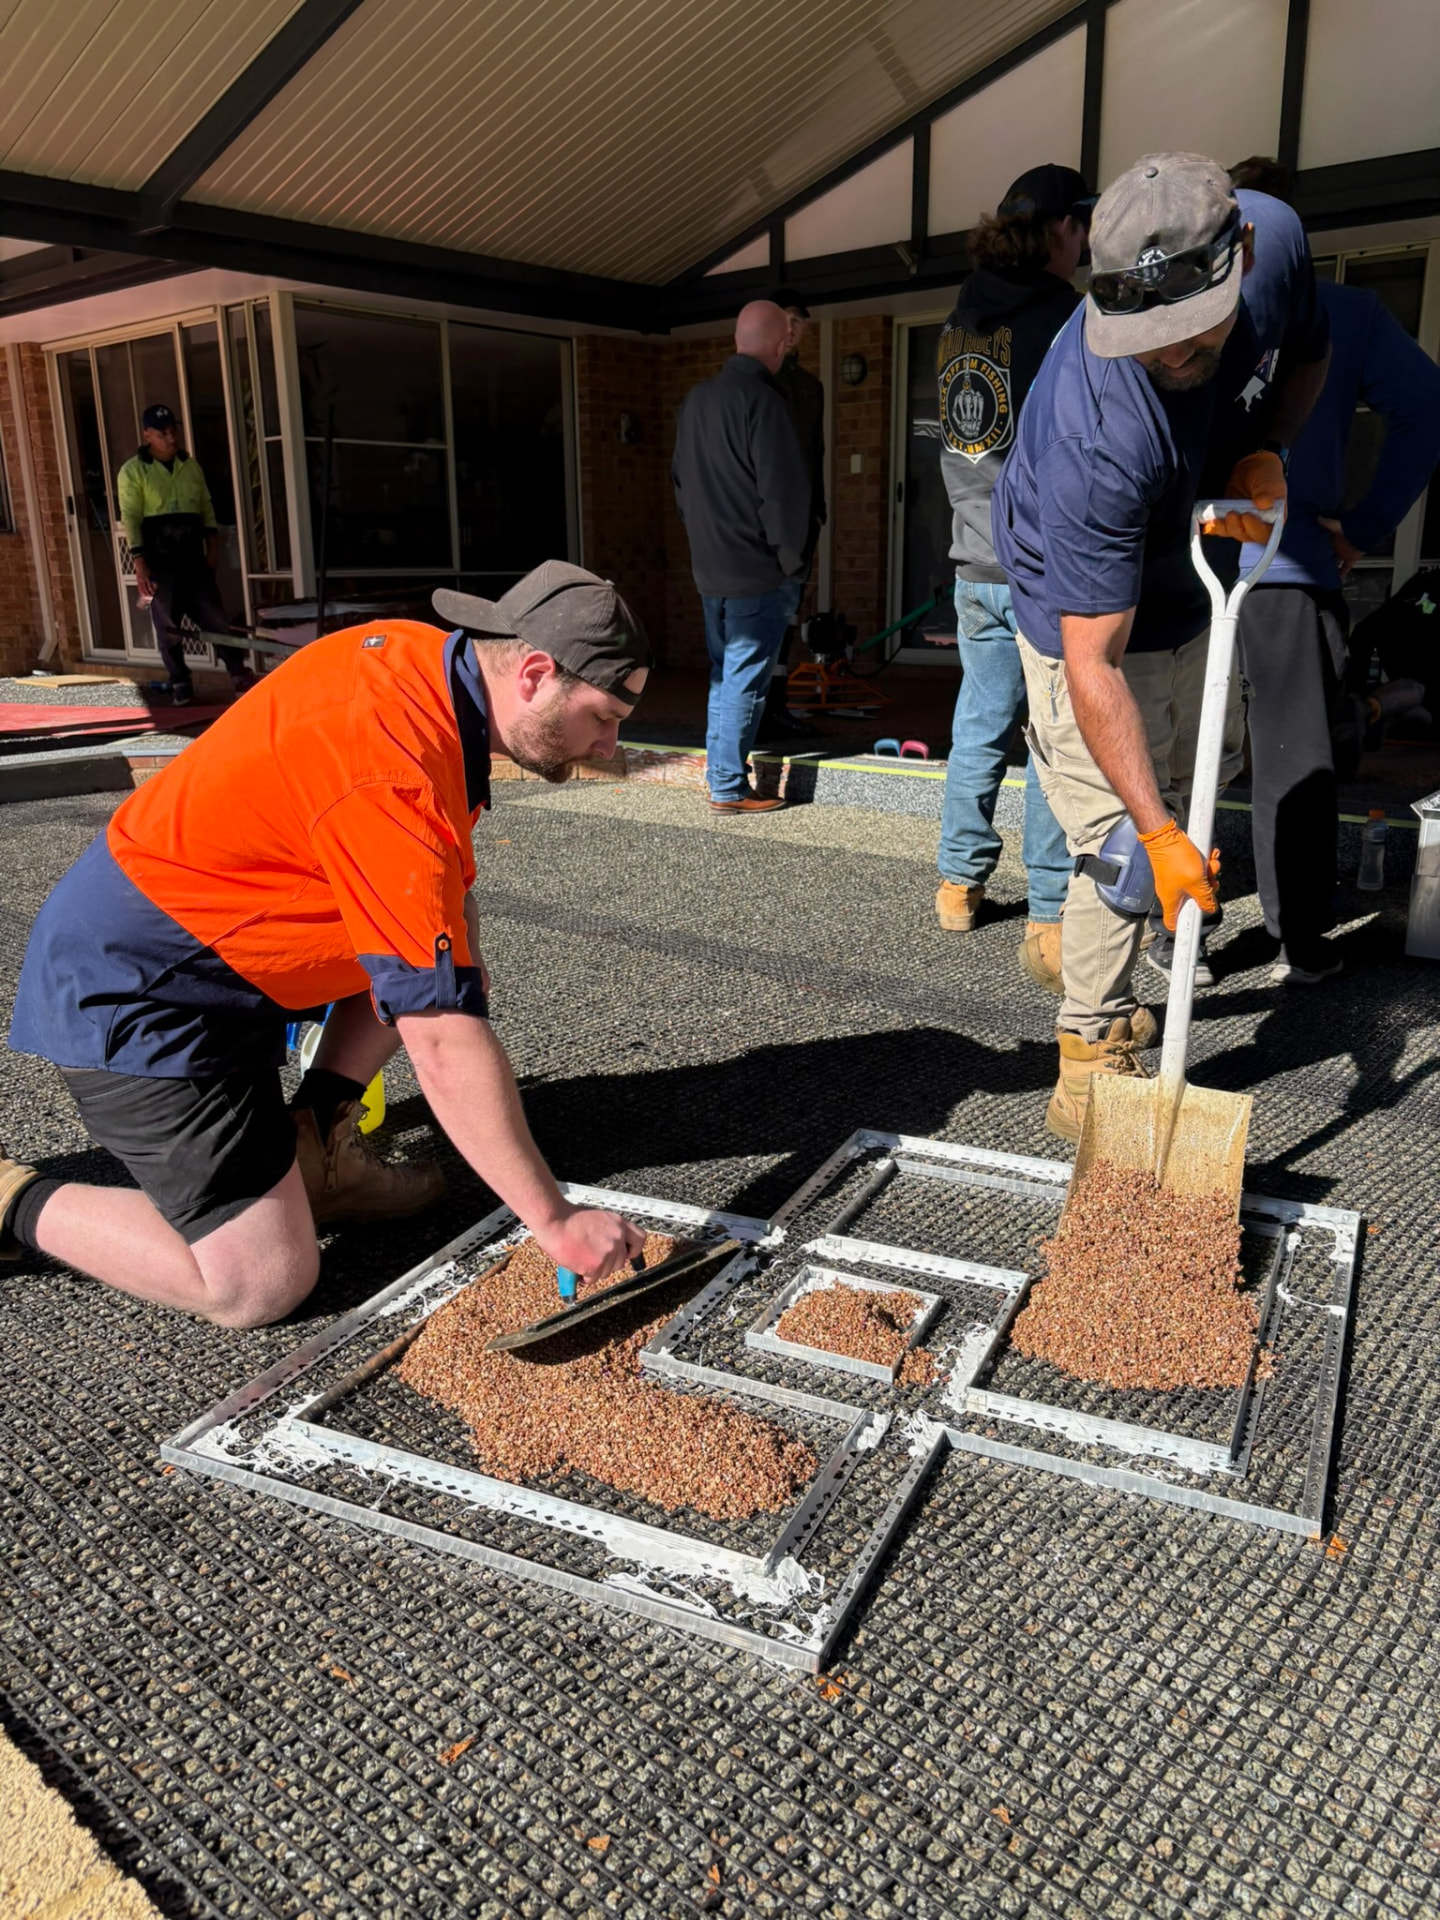
Resin bound looks simple once it is down - a smooth, seamless carpet of stone - but the finish depends on a chain of small decisions made before the first mix goes in. This guide walks through that chain in order. It is written for people who have bought a resin driveway kit from our Perth store and for tradespeople starting out in the trade. It is not a substitute for hands-on practice, and where exact figures matter we point you to the product data rather than guessing.
Before You Start: Planning the Job
Pick a dry window with stable temperatures. Resin reacts faster in heat and slower in the cold, so a mild day gives you the most working time. Check the forecast for rain across the cure period too. Order your resin driveway materials with an allowance, and have every bag on site before you start mixing. Lay out tools so the mixer, the tipping point and the working area are close together.
Organise help. One person mixing and one or two laying is a comfortable team for most residential jobs. Trying to mix and trowel alone usually means the mix sits too long.
Step 1: Base Requirements
Resin bound is a surface finish, not a structural layer. It relies completely on what is underneath. The base must be stable, sound, clean and free of movement. Typical bases are existing concrete or asphalt in good condition, or a new base built to suit the traffic it will carry.
- Repair cracks, potholes and crumbling edges.
- Remove oil stains, moss, weeds, paint and loose material.
- Make sure water drains away from buildings - resin bound is permeable, but the base and falls still need to shed water.
- Let the base dry fully. Moisture is one of the most common causes of problems.
Minimum base specification: [CONFIRM: base type and thickness for vehicle vs pedestrian areas]
Step 2: Edging
Edges give the mix a line to finish against and stop it spreading or crumbling at the perimeter. Use existing kerbs, walls and paving where they are solid, and install edging strips elsewhere. Fix edging at the finished height so it doubles as a depth guide while you screed.
Step 3: Priming
Some bases need priming to improve adhesion. Apply primer evenly with a roller or brush, following the product instructions, and only prime what you will cover in the same session. Primer and application guidance: [CONFIRM: Vuba primer requirement and application method]
Step 4: Mixing
Mixing is where consistency is won or lost. Combine the resin components thoroughly first, then add the kiln-dried stone to a forced-action mixer and mix until every stone is fully coated with no dry patches. Time every batch with a timer so each one is identical - differences between batches show up as colour or texture changes on the finished surface.
Mixing ratio and time: [CONFIRM: resin to stone ratio and mix time]
Use only dry aggregate designed for the system. Vuba Stone blends are kiln-dried for this reason. You can compare colours on our Vuba Stone blends page.
Step 5: Laying
Tip each batch onto the base and spread it with a screed or float to an even depth, working away from the fresh edge so you never kneel on finished work. Keep a wet edge - lay each new batch against the last before it starts to set - so the surface stays seamless. Work in a planned direction towards your exit point.
Step 6: Troweling and Finishing
Once the mix is spread, close the surface with a finishing trowel. Use light, sweeping, overlapping passes; pressing too hard can drag resin to the surface and leave a smeared look. Clean trowels regularly with trowel cleaner so resin does not build up and pull stones. Check edges, corners and around drains as you go.
Step 7: Curing
Keep everyone off the surface while it cures. Barrier the area, keep pets away and protect it from leaves, dust and rain. Cure time depends on the resin system and conditions: [CONFIRM: foot traffic and vehicle cure times by temperature]
Common Mistakes to Avoid
- Laying on a weak or moving base. Cracks in the base come straight through.
- Damp stone or a damp base. Moisture can cloud the resin and weaken the bond.
- Inconsistent batches. Guessing quantities instead of weighing and timing.
- Using the wrong mixer. Drum mixers leave uncoated stone.
- Over-troweling. Too much pressure or too many passes leaves a patchy, glossy finish.
- Non-UV-stable resin outdoors. It can yellow in Australian sun - see our guide to UV stable resin.
- Running short of material. Leaves a visible cold joint.
Learning Hands-On
Reading a guide helps you understand the process; doing it under supervision is how you get good at it. Our resin bound installer training lets you mix, lay and trowel real surfaces with feedback from experienced installers. If you are thinking of turning this into a business, read how to become a resin bound installer. Materials and tools are available in the Vuba Surfaces WA shop.
Frequently Asked Questions
Can I lay resin bound myself?
Yes, with the right base, tools and preparation. It is a skilled finish, so practising on a small area or completing installer training first will make a big difference to the result.
What base can resin bound go on?
Resin bound is usually laid onto a sound, stable base such as concrete or asphalt, or a properly built new base. Loose, cracked or moving surfaces must be repaired first.
Why do I need a forced-action mixer?
A forced-action mixer coats every stone evenly. Drum-style cement mixers tend to leave uncoated stone and balls of resin, which weakens and spoils the finish.
How long before I can walk or drive on it?
Cure time depends on temperature and the resin system used. Follow the product guidance for your resin, and ask us if you are laying in very hot or cool conditions.
What is the most common mistake?
Poor preparation. Most failures trace back to a weak, dirty or damp base, or to stone that was not fully dry. The laying itself is only as good as what sits underneath.